If you are searching for easy tips for growing peas, you have come to the right place. Peas are easily one of the first crops we plant in spring. There are generally three types of peas:
- Pisum sativum: this includes sweet peas and snow peas
- Pisum macrocarpon: the snap peas
Peas are cultivated easily; once the ground can be prepped, planting starts, and even if snow falls after burying the seeds, your peas will do fine. Like other legumes, peas make a good companion plant as it fixes nitrogen in the soil. These crops have limited growing season and they don’t stay fresh after harvest.
When Can You Plant Peas?
The seeds can be laid in the soil in spring, even though snow is expected. Peradventure your peas don’t make it because the soil becomes extremely wet, consider planting again. A blanket of snow can’t harm your pea plants, but when the snow melts and there is too much moisture in the soil, it can disrupt their growth. Invest in raised garden beds to prevent this.
You may also plant your peas in late summer or early fall, although spring-grown peas are more productive than fall-grown peas.
Quick Steps on How To Plant Peas
- soak your peas overnight in water before planting.
- Plant in rows
- Plant the seeds an inch deep into the oil and give two inches before laying the next one
- If the soil dries out quickly double the depth of your planting
Pests and Diseases
Peas, like most other plants, are disturbed by certain pests and diseases. Some of the pests and diseases that Pea plants are prone to having are:
- Aphids
- Fungi
- Woodchucks
- Fusarium wilt
- Mexican bean beetles
10 Simple Tips For Growing Peas
-
Soil Preference
Peas thrive in a well-drained sandy loam soil that is fertile. The pH should range from 6.0-7.5. If the soil is too acidic add agricultural lime or dolomite.
-
Choosing The Right Variety
To get the desired result, you have to choose the right variety to plant. Choose a variety with high germinating and yielding power, and that is disease resistant. Consider your experience and space: novice gardeners that have never planted peas can go with the early bush types: spring garden peas or snap peas. If you have limited space, opt for the sweet peas.
-
Soil and Drilling Conditions
It is essential that the soil must be aerated and in excellent conditions before drilling. Soggy or moist soil can restrict the root formation from germination.
-
Planting Technique
Peas flourish in full sunlight. Setting your rows north to south will help plants get enough sun throughout the day. Sow the peas in twin rows, six-inches apart, with a trellis between each row.
-
Remember To Support Your Peas
Peas thrive more with support; even the dwarf varieties will climb on a trellis if available. Place metal/wooden posts or stakes on the ground, in the middle of the twin rows. Secure your placements, add chicken wire or stripes of hardware cloth to form a mesh. Ensure it is large enough for your fist to go through.
-
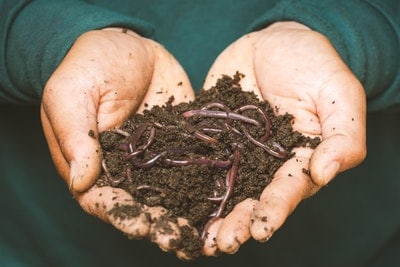
Inoculation of Seeds Before Planting
If you haven’t grown peas at all or for the last three to four years, then you have to inoculate[1] them for better growth performance. This is done by treating the seeds with rhizobia – a nitrogen-fixing bacteria; it forms nodules on the roots of leguminous plants. These nodules are responsible for converting nitrogen in the air to a suitable form that can be absorbed and used.
The inoculation involves rolling wet pea or legume seeds in an inoculant powder- one packet of the powder is enough for a pound of seeds. These powders can be purchased from seed companies. The good thing here is, once the inoculated seeds are planted, there is no need for adding nitrogen fertilizers to the soil and as a result, new seeds do not need to be vaccinated as the fixing bacteria lives for many years in the soil.
-
Insecticide And Fungicide Applications
It is imperative you protect your pea from viral infection as these are detrimental to their yields. Apply fungicides as regards the diseases your peas are susceptible to.
-
Tissue Testing
Do this a month before your peas are due to flower. This will give you enough time to balance up any nutritional deficits affecting the growth of your peas.
-
Protect The Vines
When the vines are twelve to fifteen inches above the ground, it is germane you tie in the row by looping twines amidst the support poles/stakes; this will hold the new growth up. The main advantage of this is that tying the vines will prevent the rain and wind from whipping them sideways.
-
How to Water
Peas need moisture, but when in excess, they tend to disrupt root growth. So, keep them evenly moist, make sure they get at least a gallon of water every week.
-
The Bird Games
Birds are attracted to young peas, covering your rows with chicken wire or nets till peas are up to five inches will prevent them from getting destroyed by birds.
-
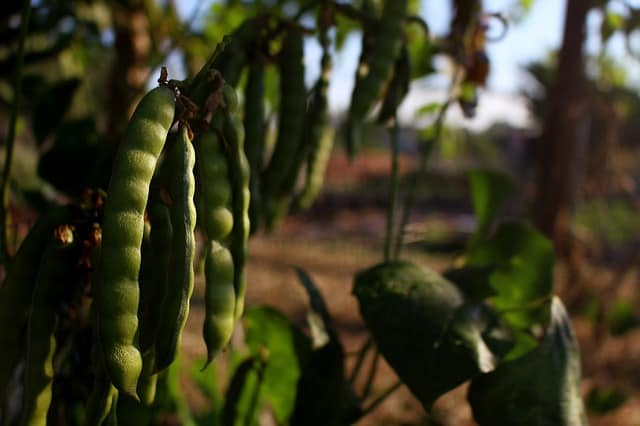
Harvest Correctly
Your peas will be ready for harvest three weeks after it blossoms. When harvesting, do not pull pods from the stem – this could injure the plant. Hold the upper stem and with your other hand, pinch the pea pods away from the vine with your finger or scissors.
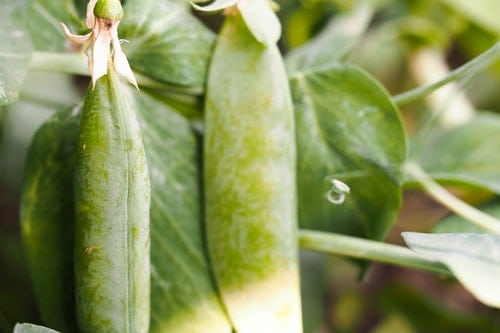
Extra Tip: Picking Technique
- Pick the English/garden peas for shelling when the pods are plump
- Pick the snap peas when the pods are bright green and fleshy as well
- Pick the snow peas while the pods are barely flat with merely developed seeds
Glossary
[1] Seed inoculation – Link